Every day, countless tablet users experience the unfortunate reality of a cracked screen. It can happen in an instant—a slip from your hands, a minor bump while rushing out the door, or even a playful tug from a curious pet. Regardless of the cause, the sight of a damaged screen can be disheartening, especially when you rely on your tablet for work or entertainment. However, don’t despair; many cracked screens can be repaired with the right approach, tools, and a bit of patience. This guide will walk you through the systematic process of assessing the damage and carrying out the repair. So if you’re ready to dive into the world of tablet repair, let’s get started!
Understanding the Problem
Repairing a cracked screen isn’t just about fixing the physical damage; it’s also about understanding how the screen works and the implications of the crack. Tablets typically use glass screens, which can shatter upon impact. They also have delicate touch sensors beneath the glass that can be affected by cracks and fractures. Not only can a cracked screen obstruct your view, but it can also lead to deeper internal issues if not addressed. Recognizing the type of screen on your tablet—such as LCD or OLED—can help you understand the repair process better. Understanding the mechanics of your device will empower you as you take on the challenge of repairing your tablet.
Assessing the Damage

Before you dive into the repair process, it’s crucial to assess the damage to your tablet’s screen. This involves checking the extent of the crack, how it affects the device’s functionality, and whether the touch screen is still responsive. You want to determine if the damage is superficial or if it has penetrated deeper into the device’s structure. Simple surface cracks might be less concerning than ones that disrupt functionality entirely. To make assessments easier, here are some common signs to check for:
- Visible cracks and chips
- Touch screen malfunction
- Flickering or dead pixels
- Display discoloration
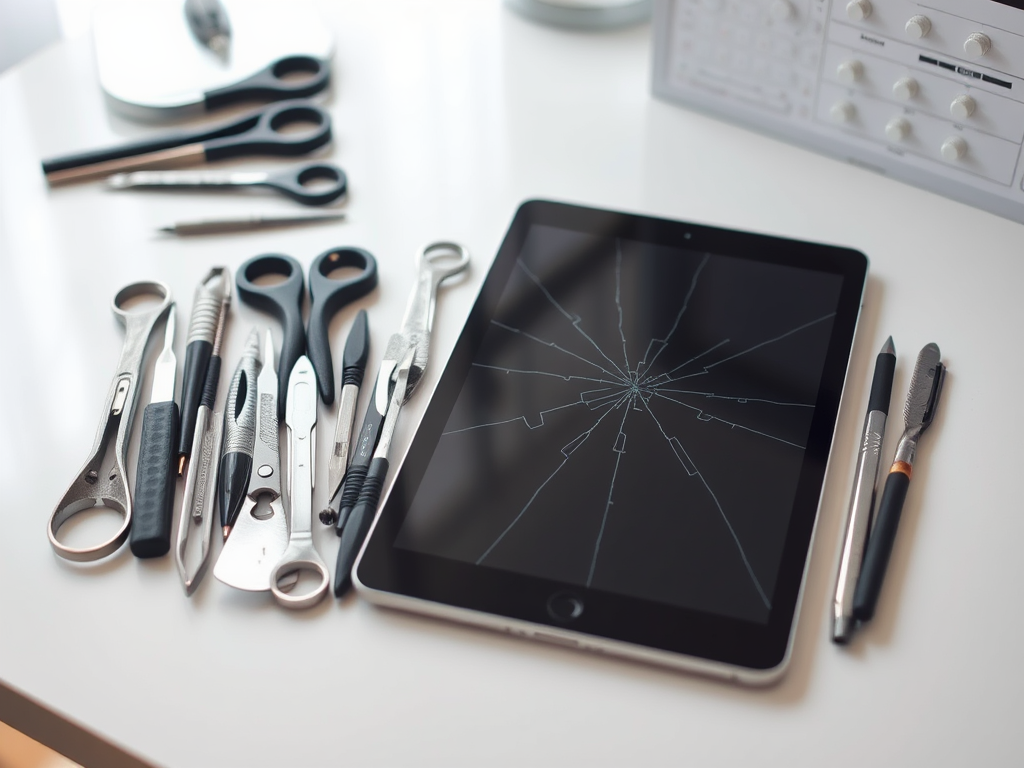
Tools and Materials Needed
To successfully repair your tablet screen, you’ll need specific tools and materials. Gathering these items ahead of time will streamline the repair process, allowing you to focus on the task at hand. Below is a list of essential tools and materials you will need:
- Screwdriver set
- Suction cup
- Pry tools
- Replacement screen
- Adhesive
| Tool | Purpose |
|---|---|
| Screwdriver set | To remove screws securing the tablet components |
| Suction cup | To lift the screen away from the device |
| Pry tools | For carefully loosening the screen during removal |
| Replacement screen | To replace the cracked screen with a new one |
| Adhesive | To secure the new screen in place |
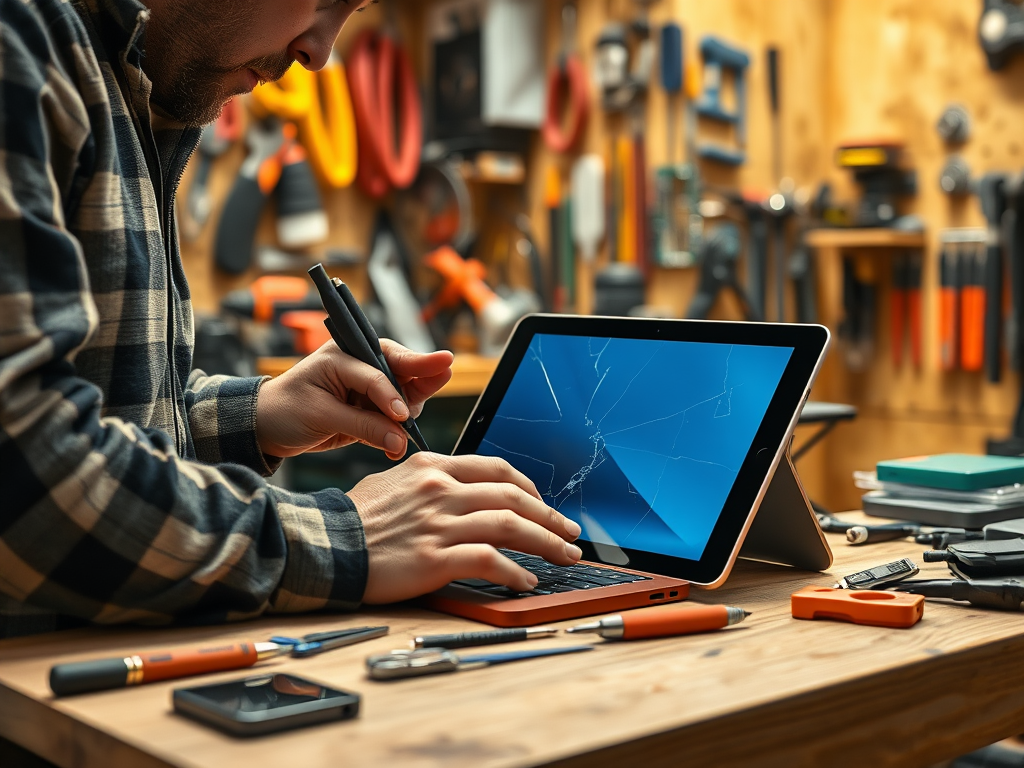
Step-by-Step Repair Process
In this section, we will guide you through the step-by-step process of repairing your tablet screen. Each step is vital for ensuring a successful outcome. Patience and precision are key elements as you navigate this hands-on project. While the process may seem daunting, following these outlined steps will make it manageable:
Step 1: Gather Your Tools
To begin, make sure you have gathered all the tools listed above. Having everything on hand will prevent interruptions and allow you to focus entirely on the repair. Ensure that your workspace is clean and well-lit, which will make the process smoother and help you focus on the task at hand.
Step 2: Disassemble Your Tablet
Once everything is ready, carefully remove the back cover and unscrew any screws holding the screen in place. Take extra care with the screws as these small components can easily get lost. If your tablet’s model has a specific method for disassembly, consult the manual or online resources for guidance.
Step 3: Remove the Cracked Screen
Utilize the suction cup and pry tools to detach the cracked screen from the device. Be gentle in your movements; rushing this step can lead to additional damage. The goal is to separate the screen without damaging the underlying components.
Step 4: Install the New Screen
After removing the cracked screen, it’s time to position the new one in place. Ensure that everything aligns correctly before applying adhesive. Once you’re satisfied with the alignment, secure the new screen with the adhesive, ensuring a tight fit.
Step 5: Reassemble Your Tablet
Finally, replace the back cover and screws, ensuring everything fits snugly and securely. Double-check your work to make sure no components are left loose or out of place. This step concludes the repair process and sets you up for a successful outcome.
Maintenance Tips to Prevent Future Damage
After you’ve successfully repaired your tablet screen, it’s essential to take preventive measures to avoid future cracks. This section will highlight some effective maintenance tips to keep your device in top shape:
- Use protective cases and covers to cushion against impacts.
- Apply screen protectors to absorb minor impacts before they reach the screen.
- Practice careful handling and avoid placing your tablet in precarious situations.
Conclusion
Repairing a cracked screen on your tablet can be a daunting task, but with the right tools and patience, it’s entirely possible. Always assess the damage thoroughly before beginning repairs, and take proactive measures to maintain your device for future use. Your tablet can serve you well for many years if you treat it with care. The satisfaction of successfully completing a repair adds to the device’s longevity, making your efforts worthwhile. As you navigate the world of technology, knowledge is power, so take these steps to maximize your device’s lifespan.
Frequently Asked Questions
- What should I do if my tablet screen is cracked but still works? If the screen is functioning correctly, consider using a screen protector to prevent further damage until you can arrange a repair.
- Can I use my tablet with a cracked screen? Yes, as long as the touch functionality still works, but be cautious as cracks can worsen over time.
- Is it cheaper to repair or replace a tablet with a cracked screen? This depends on the extent of the damage and the cost of replacement parts. In many cases, repair is more cost-effective.
- How long does it take to repair a tablet screen? Repair time varies, but most DIY repairs can be completed within one to three hours.
- Where can I buy replacement screens for my tablet? Replacement screens can typically be found online via electronics retailers, specialized repair websites, or local repair shops.