
Installing the Windows operating system on your computer using a flash drive via BIOS may seem like a complicated task, but it is actually a fairly simple process. Especially if you want to refresh your system or install a new hard drive, it is important to know how to properly install Windows 10 from a USB flash drive to your computer via BIOS.
Using a USB drive for this purpose not only speeds up the installation process compared to traditional optical drives, but also circumvents the potential problems associated with using legacy media. In this article we will provide step-by-step instructions on how to install Windows 10 from a USB flash drive to a computer via BIOS, and will look at the process itself: from preparing a USB drive to initial system settings after installation.
Introduction to installing Windows with USB drive
Before you start installing Windows from a flash drive, you need to make sure that your computer meets certain minimum system requirements to install the selected version of the operating system. In addition, you must have a properly working USB drive of sufficient capacity on hand – usually at least 8 GB. Installing Windows 10 from a flash drive to a computer, step-by-step instructions via BIOS, begins with preparing the flash drive.
Installing the system from a flash drive has a number of advantages. Firstly, the installation speed is significantly higher than when using a disk. Secondly, since modern computers are often not equipped with optical drives, USB installation is the only possible option. Thirdly, a flash drive can be used repeatedly and for different versions of Windows, which makes it a universal tool for installing and restoring the system.
Preparing a flash drive for installing Windows
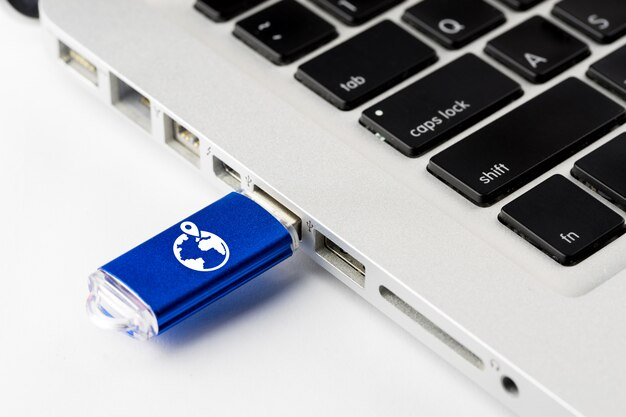
To prepare a USB drive To install the operating system, you need to select a suitable flash drive. The main requirement is read and write speed, as this directly affects the installation speed. For those who are going to follow step-by-step instructions on how to install Windows 10 from a flash drive to a computer via BIOS, it is strongly recommended to use USB 3.0, which provides higher speed compared to USB 2.0.
The next step is creating a bootable flash drive. For this purpose, you can use the official Microsoft tool, the Media Creation Tool, or third-party applications, such as Rufus. The creation process in such tools involves transferring an ISO image of the operating system to a USB drive, which then allows you to start the installation process.
Formatting the USB drive is an important preparation step. For Windows installations, it is recommended to use the NTFS format because FAT32 has some limitations, such as a maximum file size of 4 GB, which may not be enough for operating system images.
Using tools to capture an OS image:
| Advantage | Disadvantage |
|---|---|
| Microsoft Tool | Directly download the latest version of Windows without searching for an ISO image Fewer settings for advanced users |
| Rufus | Many settings and support for different file systems The need to pre-load an ISO image |
Setting up the BIOS to boot from a USB drive
With the creation of a bootable USB drive, the stage begins where you should learn how to start installing Windows from a flash drive through the BIOS on the computer. When you turn on the computer, enter the BIOS by pressing one of the function keys (F2, F12, DEL, ESC, etc., depending on the motherboard).
In the BIOS interface, go to the Boot Menu section or Boot Configuration to set the priority of boot devices, putting the USB drive first. This will ensure that the installation files are found and run from the USB drive, which is a key point in the instructions for installing Windows through the BIOS.
Updating the BIOS requires caution – incorrect actions can cause problems with the performance of your computer.
The process of installing Windows from a flash drive
After successfully entering the BIOS and setting the boot priority of the USB drive, you are ready to begin the Windows installation process. Restart your computer and it should automatically boot from the USB drive, which will initiate the Windows Installer to launch. You will be presented with a series of screens where you can select the installation language, time and currency, and keyboard layout.
You must then accept the license agreement and select the installation type: Update or Custom. For a clean installation, select the “Custom” option, which will allow you to select a specific hard drive or partition to install the system. As a rule, at this stage it is recommended to format the selected partition (especially if it is reinstalling the OS) to ensure the cleanest and most stable installation possible.
Selecting a partition to install the OS
On the partition selection screen To install Windows, it is important to correctly determine where the system will be installed. You can delete unnecessary partitions (if this is allowed and meets your needs) and create new ones based on your preferences for organizing data storage.
Formatting the disk before installation (if necessary):
- Select the partition on which you want to install Windows.
- Click on “Format” to prepare the partition.
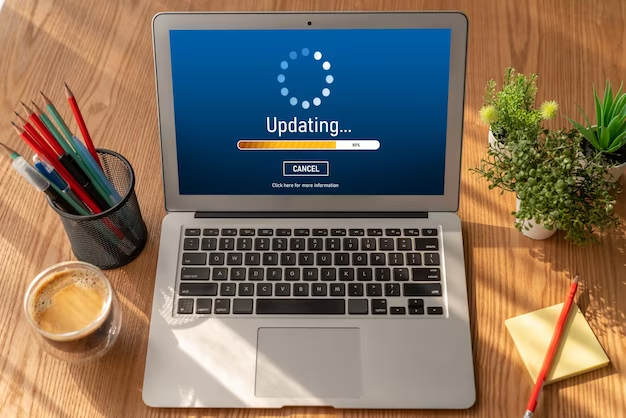
Installation may take some time, during which the computer may reboot several times. It is important for you not to remove the USB drive until the installer prompts you to do so.
Troubleshooting possible installation errors
Errors may occur during the Windows installation process, most often related to hardware incompatibility or BIOS settings. If you encounter difficulties, check the following:
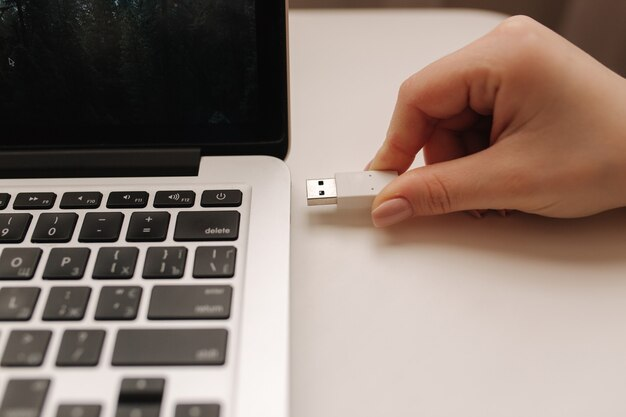
- All cable connections and operation of the USB drive itself.
- BIOS settings, in particular, SATA mode (AHCI or IDE) and Secure Boot
- Compatibility of the selected version of Windows with your hardware.
If you encounter errors related to hard drive partitions, try using the tools provided by the installer to fix them or use specialized programs before installation.
Summary
After completing the installation of Windows, you should perform the initial setup of the installed system – creating a user, setting up an Internet connection and configuring privacy settings. It is also advisable to create a backup copy of the system so that in the future you can quickly restore the computer to its working state in case of failures or problems.
Questions and Answers
Question: Is it possible to install Windows 10 from a flash drive onto a computer without entering the BIOS?
Answer: Usually, entering the BIOS is required to select a USB drive as the priority boot device. However, some systems allow you to select a boot device right when you turn it on, using a special function key.
Question: What should I do if the computer does not see the bootable USB flash drive?
Answer: Make sure the flash drive is properly prepared and functioning. Check your BIOS settings to see if you need to enable options related to USB devices. Try using a different port or a different flash drive.
Question: What is the difference between an upgrade and a clean installation of Windows?
Answer: An upgrade keeps your files, settings and applications, while a clean install removes everything from the disk, leaving you with a fresh system.
Question: Do I need to disable Secure Boot to install Windows from a USB flash drive?
Answer: It depends on how your flash drive is prepared. Official Windows images usually do not require you to disable Secure Boot, unlike unofficial or modified versions.
Question: How do I create a backup copy of my installed Windows system?
Answer : You can use the built-in Windows tool to create a system backup, or third-party programs such as Acronis True Image to create a full system image on an external drive.