Dust accumulation is an inevitable aspect of owning a PC, but its effects can be profoundly detrimental. If neglected, dust can lead to overheating, hardware failures, and overall diminished performance. A properly maintained machine not only performs better but also lasts significantly longer, which is why understanding the nuances of cleaning your computer is essential. Whether you’re a seasoned tech enthusiast or a casual user, knowing how to effectively clean out dust can make a world of difference. In this article, you’ll learn about the importance of dust cleaning, the steps to properly clean your PC, and how to maintain it for long-lasting performance.
Before diving into the cleaning process, it’s crucial to grasp the underlying reasons why maintaining a dust-free environment in your PC matters. Dust obstructs airflow, preventing your cooling systems from functioning optimally, leading to increased temperatures within your hardware. Additionally, certain components are more susceptible to dust damage than others, making regular cleaning a necessity. Ultimately, a little effort to clean your PC can yield substantial benefits, resulting in a smoother, quicker, and more enjoyable computing experience.
Understanding the Importance of Dust Cleaning
Regular cleaning of your computer isn’t merely a best practice, but a crucial maintenance step that can save you from future headaches. Dust can lead to overheating by clogging vents and impeding fans, resulting in performance throttling or even hardware failure. Not only could this lead to costly repairs or replacements, but it could also mean a significant loss of your valuable data. Recognizing the signs of dust accumulation is just as important, as it indicates when your PC needs attention. Some common symptoms include increased fan noise, unexpected shutdowns, or noticeably high temperatures.
- Overheating issues or thermal throttling
- Strange noises coming from fans
- Frequent crashes or failures
- Slow performance despite adequate specs
- Accumulation of visible dust on the case
Preparing for the Cleaning Process
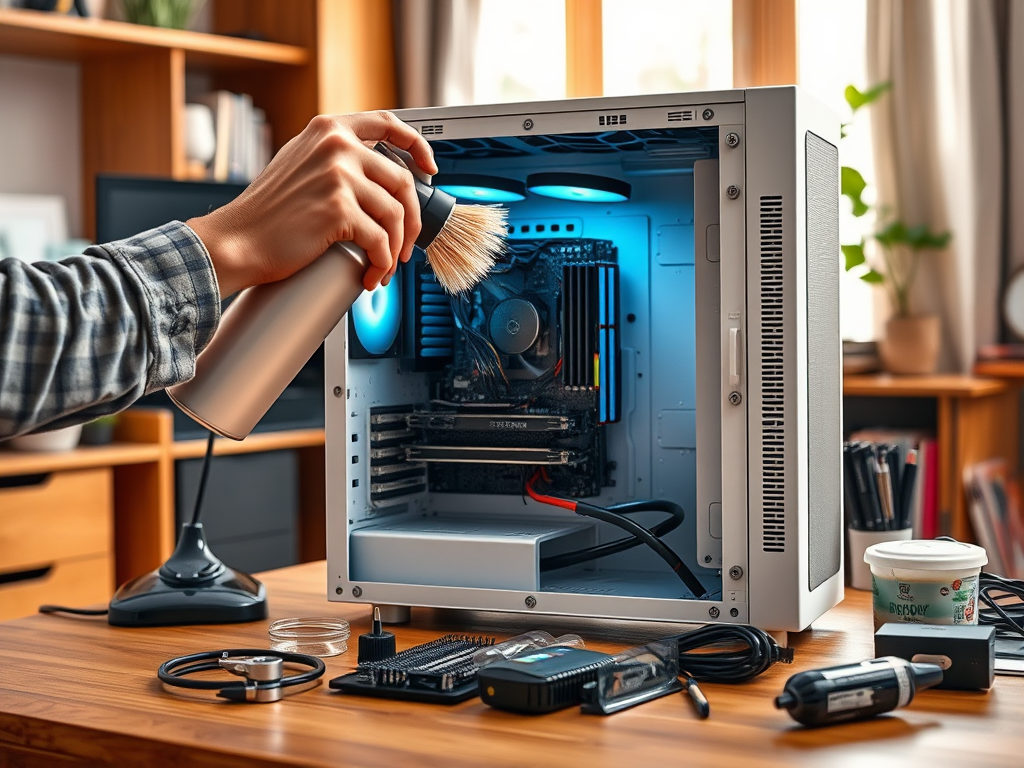
Before you start cleaning your PC, it’s essential to prepare adequately. Gather all necessary tools and materials to make the process smooth and effective. You’ll need a few specialized items such as a soft brush, a vacuum cleaner with a brush nozzle, microfiber cloths, and a can of compressed air. Having everything organized beforehand eliminates frustration during the cleaning process. Additionally, it’s advisable to choose a workspace that has adequate lighting and is static-free. Before diving in, ensure your PC is completely powered down and unplugged from the electrical outlet to prioritize safety.
| Tool/Material | Purpose |
|---|---|
| Soft brush | To gently dislodge dust from components |
| Vacuum cleaner | To remove dust buildup in various areas |
| Microfiber cloths | For wiping down surfaces without scratching |
| Compressed air | To blow out dust from hard-to-reach spots |
The Cleaning Process
Now that you are prepared, it’s time to delve into the cleaning process. Start by opening your PC case with caution, depending on your system type. Ensure you’re familiar with any screws that need removal or sliding panels that require disassembling. Once open, it’s crucial to handle all components gently, especially sensitive parts like the motherboard and CPU cooler. Begin the dust cleaning by focusing on crucial areas where dust tends to accumulate the most.
Opening Your PC Case
Begin by identifying how your specific model of PC case opens. Some cases come with screws, while others may have quick-release panels. Cautiously remove the screws or detach the panels, ensuring not to touch any electrical components unnecessarily. A grounded position is advisable during this process to avoid any static damage to your PC’s hardware.
Removing Dust from Components
Let’s dive deeper into cleaning individual components effectively. Components like the motherboard, CPU cooler, PSU, graphics card, and fans deserve special attention due to their vital roles in system performance.
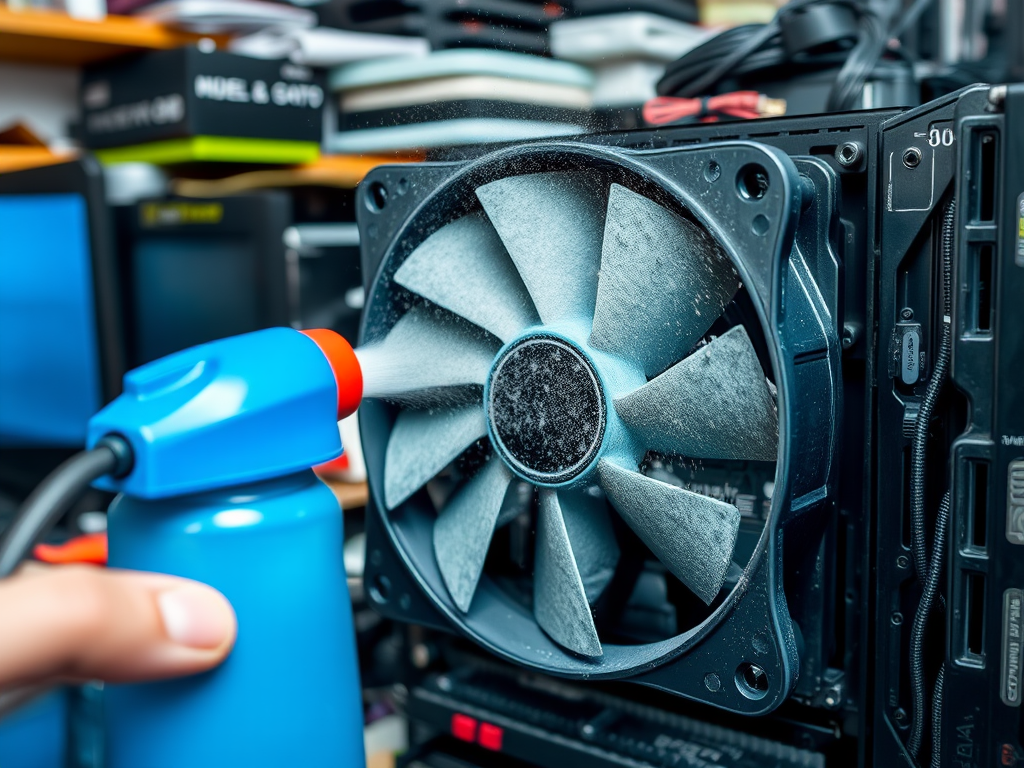
- Motherboard and CPU Cooler: Use a soft brush to remove dust, but do so delicately to avoid damaging circuits. A can of compressed air can also help in dislodging stubborn dust.
- Power Supply Unit (PSU): Cleaning the PSU can be tricky due to its enclosure. However, with a vacuum and soft brush, you can remove dust without compromising the unit’s integrity.
- Graphics Card and RAM: Gently clean these components with a microfiber cloth and some compressed air. Caution is critical as they are delicate and vital for performance.
- Fans and Vents: Dust often clogs fans and vents. Using compressed air, blow dust out and remove any residual buildup with a soft brush.
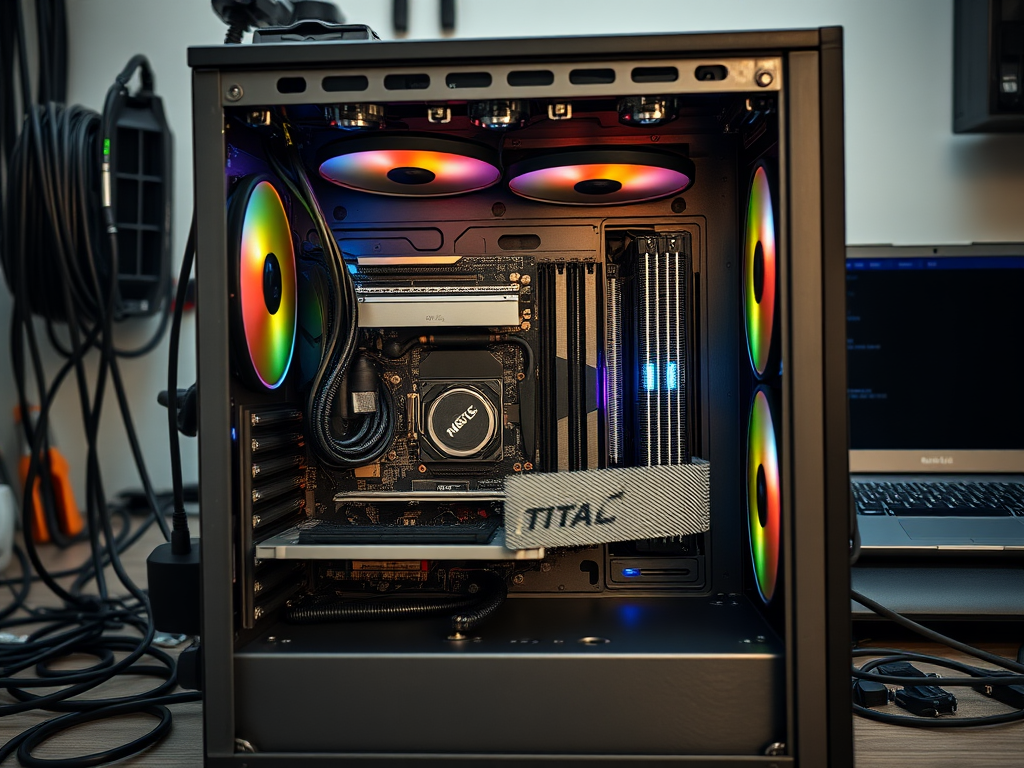
Reassembling the PC
Once you’ve cleaned all critical components, it’s time to reassemble your PC. Carefully place all components back into their designated spots. Make sure to tighten any screws securely and check for any loose cables or connections. Properly ensuring that everything is in its right place will help in maintaining optimal performance after powering up your system once more.
Conclusion
Regularly cleaning your PC from dust is not just about aesthetics; it plays a significant role in maintaining your computer’s performance and longevity. Incorporating this cleaning process into your routine can help you avoid future issues like overheating and hardware failure. Hence, don’t overlook the impact of a clean PC—and make it a habit to check for dust buildup every few months. Keeping your computer clean can save you from frustrating failures and enhance your overall computing experience.
Frequently Asked Questions
- How often should I clean my PC? It is generally recommended to clean your PC every 3 to 6 months, depending on its environment.
- Can dust damage my computer permanently? Yes, excessive dust buildup can lead to overheating and damage to internal components over time.
- Is using a vacuum cleaner safe for my PC? A vacuum can generate static electricity which may harm your components. It’s better to use compressed air or a soft brush.
- What tools do I need to clean my PC? You will need a soft brush, microfiber cloths, a can of compressed air, and possibly a vacuum with a brush attachment.
- Should I worry about static electricity while cleaning? Yes, it’s advisable to ground yourself by touching a metal surface to prevent static discharge that could damage your PC components.